Easy Tips for How to clean a cat’s ears
Easy Tips for How to clean a cat’s ears
Table of Contents
Is your fastidious feline’s grooming routine truly complete without your help? While your cat is an expert at self-care, those delicate cat ears might sometimes need your attention.
Many cats maintain excellent ear hygiene on their own. Not every pet requires routine ear cleaning. In fact, over-cleaning can cause irritation and lead to an infection.
The key is knowing when your furry friend needs assistance. Regular checks help you spot problems early. Look for signs like wax buildup, redness, or odor.
This guide will help you understand when it’s necessary to clean cat ears and how to do it safely. You’ll learn to keep your cat comfortable and healthy.
Key Takeaways
- Most cats’ ears are self-cleaning and may not need your help.
- Regular observation is more important than frequent cleaning.
- Over-cleaning can cause irritation and other ear problems.
- Look for signs like wax, odor, or redness before deciding to clean.
- Knowing your cat’s normal ear state helps you spot issues quickly.
- A proper approach makes the process safe and stress-free for your pet.
Understanding Your Cat’s Ear Anatomy
Your feline friend’s hearing system is an engineering marvel that goes far beyond the cute triangular flaps you see. This sophisticated structure provides both hearing and balance functions.
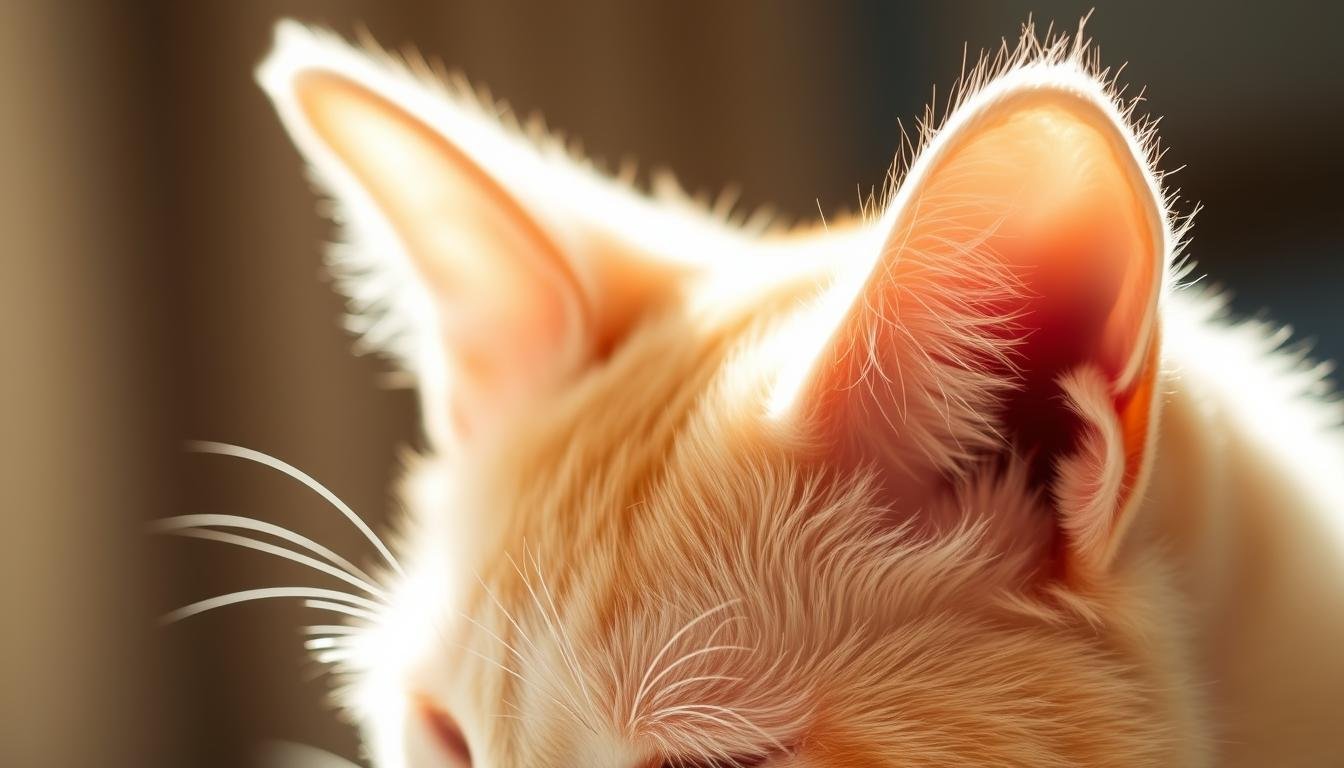
Key Structures in Your Cat’s Ear
The visible ear flap, called the pinna, is the triangular part made of cartilage. It’s covered with delicate skin. This external ear structure helps direct sound into the ear canal.
Inside, the ear canal has a unique L-shape. The vertical part is visible, while the horizontal section extends toward the eardrum. Only your vet can properly examine this deep canal with special equipment.
The tympanic membrane separates outer and inner ear regions. Behind it lie delicate bones for hearing and balance systems. Understanding this complex cat ear structure helps explain why infections can be serious.
Why Regular Ear Checks Matter
Regular inspections help you learn what’s normal for your cat. The L-shaped design means debris can get trapped deep inside. This buildup might lead to discomfort if not addressed.
Look for unusual discharge or redness during checks. Early detection of ear issues prevents complications. If your cat shows balance problems or head tilting, seek veterinary care immediately.
Familiarity with healthy cat ears helps you spot changes quickly. This knowledge supports your clean cat care routine effectively.
Keeping Your Cat’s Ears Healthy – Why and When to Clean
Maintaining your feline’s ear health is more about smart observation than frequent maintenance. Most pets maintain perfect ear hygiene naturally throughout their lives.
Some cats are more prone to ear issues. Those with history of ear infections or ear mites may need periodic attention. Cats producing excess wax might also require occasional care.

Recognizing Signs of Infection and Debris
Watch for warning symptoms that signal trouble. Foul odor, redness, or swelling indicate potential problems. Dark discharge or black debris often points to mites or yeast infections.
Excessive scratching or head shaking suggests discomfort. Your pet might show pain when their ears are touched. These signs mean professional help is needed.
When to Consult Your Veterinarian
Never attempt home care if you notice infection signs. Cleaning infected cat ears can push material deeper. This worsens the problem significantly.
Balance issues like wobbliness or head tilting require immediate vet attention. These suggest middle ear concerns. Quick vet consultation prevents complications.
When debris returns quickly after cleaning, see your veterinarian. This indicates ongoing issues needing proper diagnosis. Your cat deserves professional assessment for persistent symptoms.
How to clean a cat’s ears at home
Transforming ear care from daunting to doable begins with the right approach and supplies. With patience and proper technique, you can maintain your feline’s ear health effectively.
Step-by-Step Cleaning Process
Gather your supplies before beginning. Choose a quiet space where your pet feels secure. Consider having a second person assist with gentle restraint.
Hold your pet securely in your lap, facing away from you. Apply vet-approved ear cleaner into the ear canal until filled. Massage the base for 30 seconds.
| Essential Supplies | Optional Items | What to Avoid |
|---|---|---|
| Vet-approved ear cleaner | Calming spray | Cotton swabs |
| Cotton balls | Treats for rewards | Alcohol-based solutions |
| Soft towel | Gauze pads | Sharp objects |
Allow your pet to shake their head after application. This natural action helps remove debris and excess solution. Gently wipe visible areas with a cotton ball.
Tips to Keep Your Pet Calm and Comfortable
Work during your pet’s relaxed moments. Speak softly and move deliberately. Reward cooperation with favorite treats.
If your pet becomes stressed, pause and try later. Consistency builds trust over time. Always follow your vet‘s specific recommendations for your pet’s needs.
Tools and Techniques for Safe Ear Cleaning
Proper tools and gentle techniques transform ear maintenance into a safe, simple process for your feline companion. Using the right products prevents irritation and supports your pet’s natural ear health.
Recommended Cleaning Solutions and Materials
Your veterinarian can recommend the ideal ear cleaner for your specific cat. Commercial products like Epi-Otic are formulated to remove wax and debris gently.
Some cleaners contain antibacterial ingredients that help prevent ear infections. Avoid homemade solutions found online, as they often irritate the delicate ear canal.
| Safe Products | Unsafe Products | Essential Supplies |
|---|---|---|
| Veterinary-approved ear cleaner | Hydrogen peroxide | Cotton balls or gauze |
| pH-balanced solutions | Alcohol-based products | Your cat’s favorite treats |
| Antifungal formulations | Homemade mixtures | Soft towel for restraint |
Dos and Don’ts When Cleaning Cat Ears
Do use enough cleaner to fill the ear canal and massage the base thoroughly. Allow your cat to shake their head naturally to remove loosened material.
Never use cotton swabs, as they push debris deeper and risk damaging the eardrum. Avoid cleaning if you notice signs of ear mites or infection without veterinary guidance.
Most cats need only occasional maintenance rather than routine cleaning. If your pet resists home care, your vet can perform professional ear cleaning during regular exams.
Conclusion
Your commitment to learning proper feline ear care is a wonderful gift to your pet. While not every cat needs routine maintenance, knowing the correct method for cleaning is a vital skill.
The “check first” approach is your best strategy. Regular, gentle checks of your cat ears help you spot problems early. This allows for quick action before a minor issue becomes a major problem.
When ear cleaning is necessary, remember the safe technique. Use a vet-approved solution and cotton balls. Avoid Q-tips and never clean infected ears.
Always talk with your veterinarian about your specific pet‘s needs. With patience and this knowledge, you can confidently care for your cat. You’ll strengthen your bond and ensure your beloved companion’s health and happiness.
FAQ
How often should my pet’s ears be cleaned?
Most cats keep their ears quite clean on their own and may only need help during a bath or if you notice a visible buildup. Over-cleaning can cause irritation, so it’s best to check them weekly and clean only when necessary.
What are the signs my feline friend might have an ear problem?
Watch for behaviors like frequent scratching at the ears, shaking the head, or redness inside the ear. You might also notice a bad odor, discharge, or your pet seeming bothered when you touch near their ears.
Can I use cotton swabs to clean my pet’s ears?
It’s strongly recommended to avoid cotton swabs inside the ear canal, as they can push debris deeper and risk damaging the eardrum. Instead, use a cotton ball or gauze pad dampened with a vet-approved ear cleaner.
What should I do if my pet resists having their ears handled?
Stay calm and patient. Try short, positive sessions where you gently touch the ears and offer a treat. If your pet remains stressed, it might be best to seek help from your veterinarian to avoid causing fear or injury.
Are certain breeds more prone to ear issues?
Yes, breeds with floppy ears or those that are hairless may require more frequent monitoring. Their ear anatomy can trap moisture and debris, making them more susceptible to infections.
What is the brown buildup in my pet’s ears?
A small amount of light brown, waxy material is normal. However, a thick, dark brown or black discharge could indicate an issue like ear mites or a bacterial infection, and you should consult your vet.