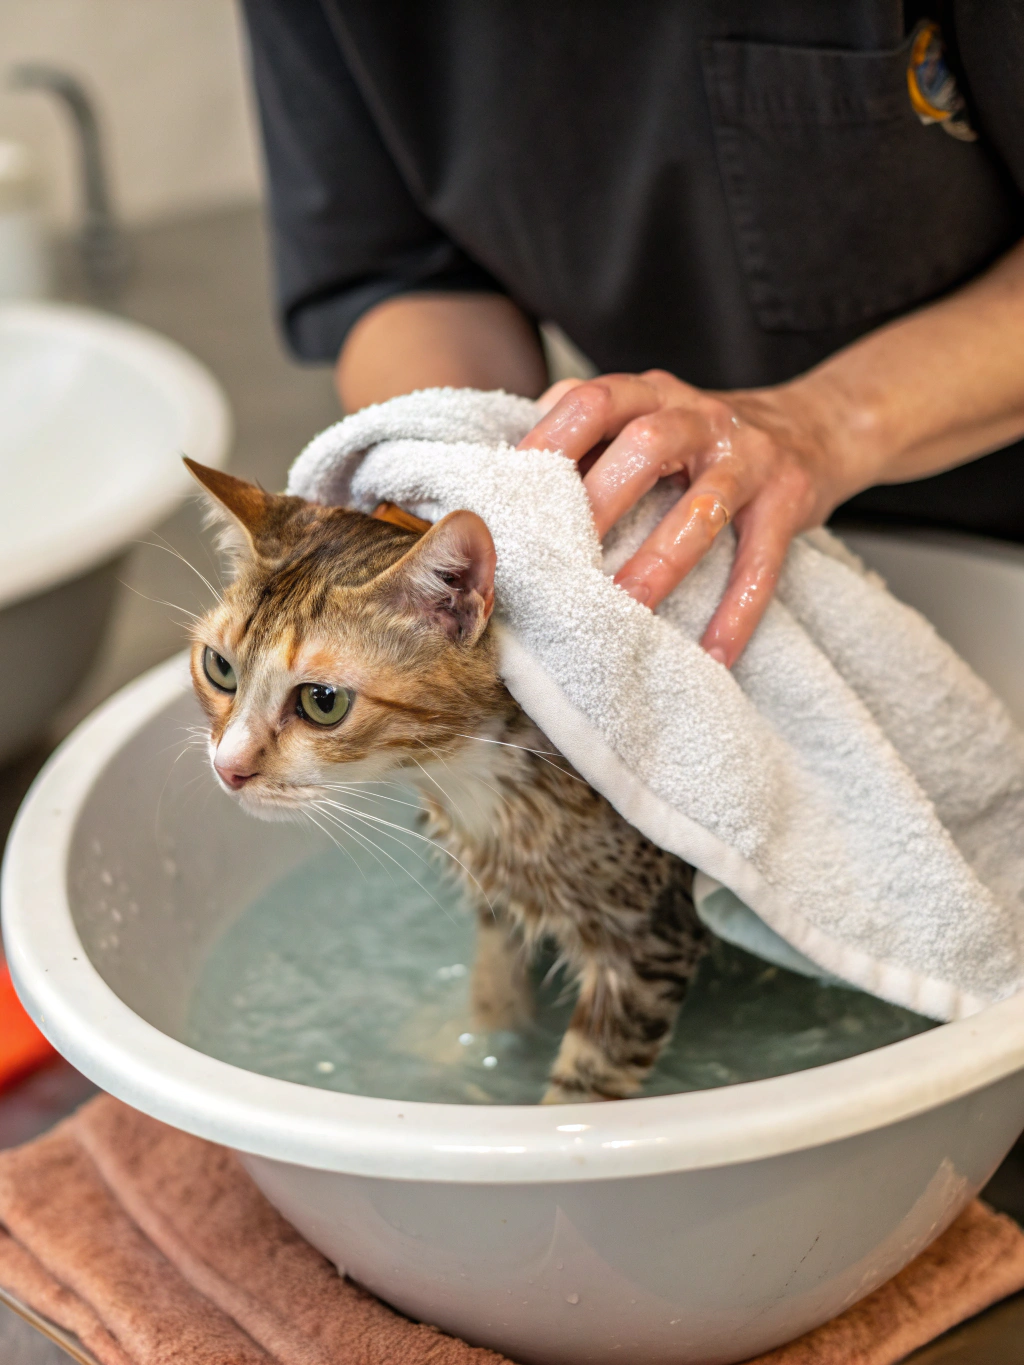
how to bathe a cat in 5 steps. how to clean cat ears
how to bathe a cat in 5 steps. how to clean cat ears
Table of Contents
Quick Way to Grow Clean Cat Ears in 5 Steps: How to Clean Cat Ears
Introduction
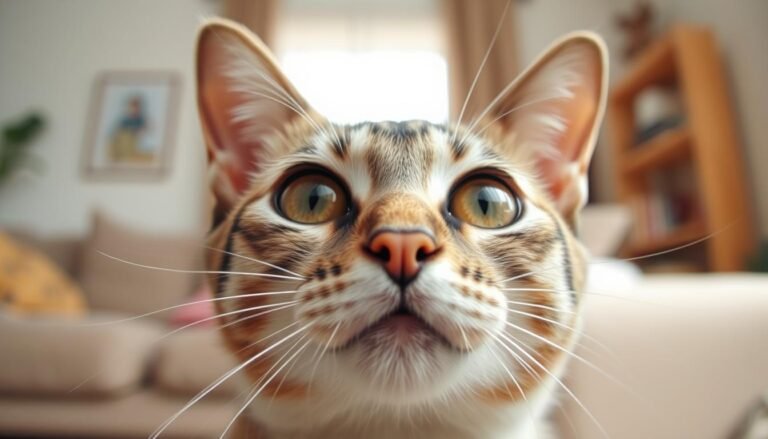
Did you know that approximately 20% of cats will experience ear issues during their lifetime, yet most cat owners overlook ear cleaning until a problem develops? Regular ear maintenance isn’t just about hygiene—it’s a preventative measure that can save your feline friend from painful infections and costly veterinary bills. If you’ve been wondering about the safest approach to ear care, especially when harsh chemicals seem risky, you’re in the right place. While many cat owners know how to bathe a cat, ear cleaning often remains a mystery. This comprehensive guide will walk you through safe, vet-approved natural methods for maintaining your cat’s ear health, ensuring your furry companion stays comfortable and infection-free.
Cat Supplies & Essentials

Before beginning your cat’s ear cleaning routine, gathering the right supplies ensures a smooth, stress-free experience. Here’s what you’ll need:
Cat ear cleaning solution: Choose a vet-approved, pH-balanced formula specifically designed for feline ears. Natural options containing aloe vera or chamomile work excellently without harsh chemicals.
Cotton balls or pads: Soft, absorbent materials are essential for wiping away debris and excess solution. Never use cotton swabs, which can damage the ear canal.
Towels: Have 2-3 clean towels ready—one for wrapping your cat if needed, and others for cleanup.
Treats: High-value rewards help create positive associations with ear cleaning sessions.
Gauze squares: Medical-grade gauze provides excellent texture for gentle cleaning without leaving fibers behind.
Flashlight or headlamp: Proper lighting helps you see inside the ear without causing discomfort.
Optional items: A grooming assistant (another person), calming pheromone spray, or a grooming table can make the process easier, especially for anxious cats.
Timeline / Progress Expectations
Understanding realistic timelines helps set appropriate expectations for your cat’s ear care journey:
First Week: Your cat may show resistance during initial cleaning sessions. Expect 10-15 minutes per session as your cat adjusts to handling. Most cats tolerate ear examination by day 3-4 with positive reinforcement.
Weeks 2-3: Cleaning time reduces to 5-7 minutes as your cat becomes familiar with the routine. You’ll notice improved ear cleanliness and reduced wax buildup.
One Month: Establish a maintenance schedule—typically bi-weekly for healthy cats, or weekly for breeds prone to wax buildup like Persians or Scottish Folds.
Long-term: Cats with healthy ears may only need cleaning once monthly. Those with chronic issues may require weekly attention. Most behavioral improvements occur within 2-3 weeks of consistent, gentle handling.
Seasonal Considerations: Increase cleaning frequency during humid months when ear infections spike, or after swimming if your cat enjoys water activities.
Step-by-Step Instructions
Step 1: Create a Calm Environment
Choose a quiet, well-lit room where your cat feels comfortable. Place them on a non-slip surface at a comfortable working height. Speak in soothing tones and have treats visible. Allow your cat to smell the cleaning supplies before beginning. This preparation phase reduces anxiety and establishes trust, making subsequent steps significantly easier.
Step 2: Examine the Ears Thoroughly
Gently fold back the ear flap and inspect the visible portions of the ear canal using your flashlight. Look for redness, excessive wax (brown or black discharge), swelling, or foul odors. Healthy ears appear pale pink with minimal light-colored wax. If you notice inflammation, bleeding, or your cat shows pain when you touch the area, consult your veterinarian before proceeding—these signs indicate potential infection requiring medical attention.
Step 3: Apply the Cleaning Solution
Hold the ear flap upward and carefully squeeze the recommended amount of cleaning solution (typically 5-10 drops) into the ear canal. Don’t let the bottle tip touch the ear to prevent contamination. The solution should fill the visible portion of the canal. Your cat may shake their head slightly—this is normal and actually helps distribute the solution.
Step 4: Massage and Loosen Debris
Gently massage the base of the ear for 20-30 seconds in circular motions. You should hear a soft squishing sound, indicating the solution is breaking down wax and debris. This massage action is crucial—it allows the cleaner to penetrate deep into the ear canal’s crevices where debris accumulates. Most cats find this massage soothing once they become accustomed to the sensation.
Step 5: Wipe Clean and Reward
Allow your cat to shake their head, which brings loosened debris to the outer ear. Use cotton balls or gauze to gently wipe away visible dirt, wax, and excess solution from the ear flap and outer canal. Never push materials into the ear canal. Work from the inside outward with fresh cotton for each swipe. Immediately reward your cat with treats and praise, reinforcing positive associations with ear cleaning.
Health Benefits / Cat Advantages
Regular ear cleaning provides substantial health advantages beyond basic hygiene:
Infection Prevention: Studies show that routine ear maintenance reduces infection rates by up to 70% in cats, particularly in breeds with folded ears or heavy ear fur.
Early Disease Detection: Regular examination allows you to spot problems like ear mites, polyps, or tumors in their earliest stages when treatment is most effective and least invasive.
Improved Comfort: Removing excess wax and debris prevents itching, head shaking, and scratching that can lead to self-inflicted wounds.
Enhanced Hearing: Clear ear canals ensure optimal hearing function, which is especially important for indoor cats who rely on auditory cues for enrichment and safety.
Reduced Veterinary Costs: Preventative care costs significantly less than treating advanced ear infections, which often require prescription medications and multiple veterinary visits.
Behavioral Benefits: Cats with healthy, comfortable ears show improved mood, playfulness, and social interaction with family members.
Alternative Methods & Tips
Different cats and situations call for adapted approaches:
For Anxious Cats: Try the “burrito method”—wrap your cat snugly in a towel, exposing only the head. This provides security and prevents scratching. Alternatively, break the process into multiple short sessions over several days.
Natural Solutions: Witch hazel diluted with equal parts distilled water creates an effective, chemical-free cleaner. Apple cider vinegar (2 tablespoons mixed with 1 cup warm water) also works for mild cleaning, though avoid if any irritation exists.
Small Living Spaces: Perform cleaning in the bathroom where your cat can’t escape easily. The confined space actually helps some cats feel more secure.
Multi-Cat Households: Clean each cat’s ears with fresh supplies to prevent cross-contamination of infections or mites.
Senior Cats: Older cats may have arthritis making positioning uncomfortable. Work at their level rather than lifting them, and take extra time for gentle handling.
Budget-Friendly Options: Plain saline solution (available at pharmacies) works adequately for basic cleaning when commercial products aren’t accessible.
Common Mistakes to Avoid
Prevent complications by steering clear of these frequent errors:
Using Cotton Swabs: Q-tips push debris deeper into the ear canal and can rupture the eardrum. Always use cotton balls or gauze wrapped around your finger for outer ear cleaning only.
Over-Cleaning: Excessive cleaning strips natural protective oils and can cause irritation. Healthy ears typically need cleaning only every 2-4 weeks.
Using Water or Hydrogen Peroxide: These substances can trap moisture in the ear canal, creating ideal conditions for bacterial and yeast growth. Use only veterinary-approved ear cleaning solutions.
Ignoring Warning Signs: Never clean ears that appear red, swollen, or emit strong odors without veterinary guidance. These symptoms indicate infection requiring medical treatment.
Restraining Too Forcefully: Aggressive restraint creates negative associations and increases stress. If your cat strongly resists, stop and try again later or seek professional help.
Cleaning Too Deep: Only clean areas you can see. The ear canal’s delicate structures lie beyond your visual range and should never be directly touched.
Skipping Rewards: Positive reinforcement is crucial for long-term success. Always end sessions with treats and affection, even if the cleaning didn’t go perfectly.
Storage & Maintenance Tips
Proper supply management ensures effectiveness and safety:
Solution Storage: Keep ear cleaning solutions tightly sealed in a cool, dark place. Most products remain effective for 6-12 months after opening. Check expiration dates monthly and discard outdated products.
Cotton Supply Organization: Store cotton balls and gauze in airtight containers to prevent dust accumulation and contamination.
Equipment Cleaning: Wipe bottle tips with alcohol after each use to prevent bacterial growth. Replace flashlight batteries quarterly to ensure adequate lighting.
Weekly Maintenance Routine: Inspect your cat’s ears every 3-4 days, even when not cleaning. This frequent checking helps you catch problems early.
Seasonal Adjustments: Increase cleaning frequency during spring and summer when allergies and outdoor exposure elevate infection risks. Indoor-only cats may require less frequent cleaning during winter months.
Record Keeping: Maintain a simple log of cleaning dates, ear condition observations, and any concerns. This documentation proves invaluable during veterinary visits.
Conclusion
Maintaining clean, healthy cat ears doesn’t require harsh chemicals or expensive treatments—just consistent care, gentle techniques, and the right supplies. By following these five straightforward steps and incorporating natural, vet-approved methods, you’re protecting your feline companion from painful infections while strengthening your bond through positive handling experiences. Remember that every cat adapts at their own pace, so patience and persistence are your greatest tools. Start your cat’s ear care routine today, and you’ll soon notice the difference in their comfort and overall wellbeing. Ready to explore more ways to keep your cat healthy and happy? Check out our comprehensive guides on feline nutrition, behavioral enrichment, and preventative health care—your cat will thank you for it!
FAQs
How often should I clean my cat’s ears?
For most healthy cats, cleaning every 2-4 weeks is sufficient. Cats prone to wax buildup or with chronic ear issues may need weekly cleaning. Always base frequency on your individual cat’s needs and your veterinarian’s recommendations. Over-cleaning can cause irritation, so monitor ear appearance rather than following a rigid schedule.
What color should cat ear wax be?
Normal cat ear wax ranges from light brown to amber and appears slightly moist but not excessive. Dark brown or black discharge suggests ear mites, while yellow-green discharge indicates bacterial infection. Red-brown crusty material may signal yeast overgrowth. Any unusual colors, odors, or quantities warrant veterinary examination.
Can I use baby wipes to clean my cat’s ears?
No, baby wipes contain chemicals, fragrances, and moisturizers unsuitable for feline ear canals. These ingredients can cause irritation, allergic reactions, or disrupt the ear’s natural pH balance. Always use products specifically formulated for cat ears, which maintain proper pH and contain safe, effective cleansing agents.
My cat absolutely refuses ear cleaning—what should I do?
Start with desensitization training: touch your cat’s ears briefly during regular petting sessions, immediately following with treats. Gradually increase handling duration over 1-2 weeks. If resistance continues, consult your veterinarian about professional cleaning or sedation options for cats with extreme anxiety or past trauma.
How can I tell if my cat has an ear infection versus just dirty ears?
Ear infections typically present with redness, swelling, unusual discharge (especially if dark, pus-like, or foul-smelling), head shaking, scratching, tilting the head to one side, or pain when touching the ears. Simply dirty ears show light wax buildup without inflammation or behavioral changes. When in doubt, always consult your veterinarian for accurate diagnosis.